
:This article serves as an ultimate guide to Omron PLC, providing essential information and steps to help you understand and utilize this industrial automation system. From the initial unpacking to final deployment, this guide covers everything you need to know about Omron PLCs and their benefits in optimizing industrial processes. So, whether you are a beginner or looking to expand your knowledge, this guide offers valuable insights for your journey. Let’s get started!
Step 1: Unpacking the Package
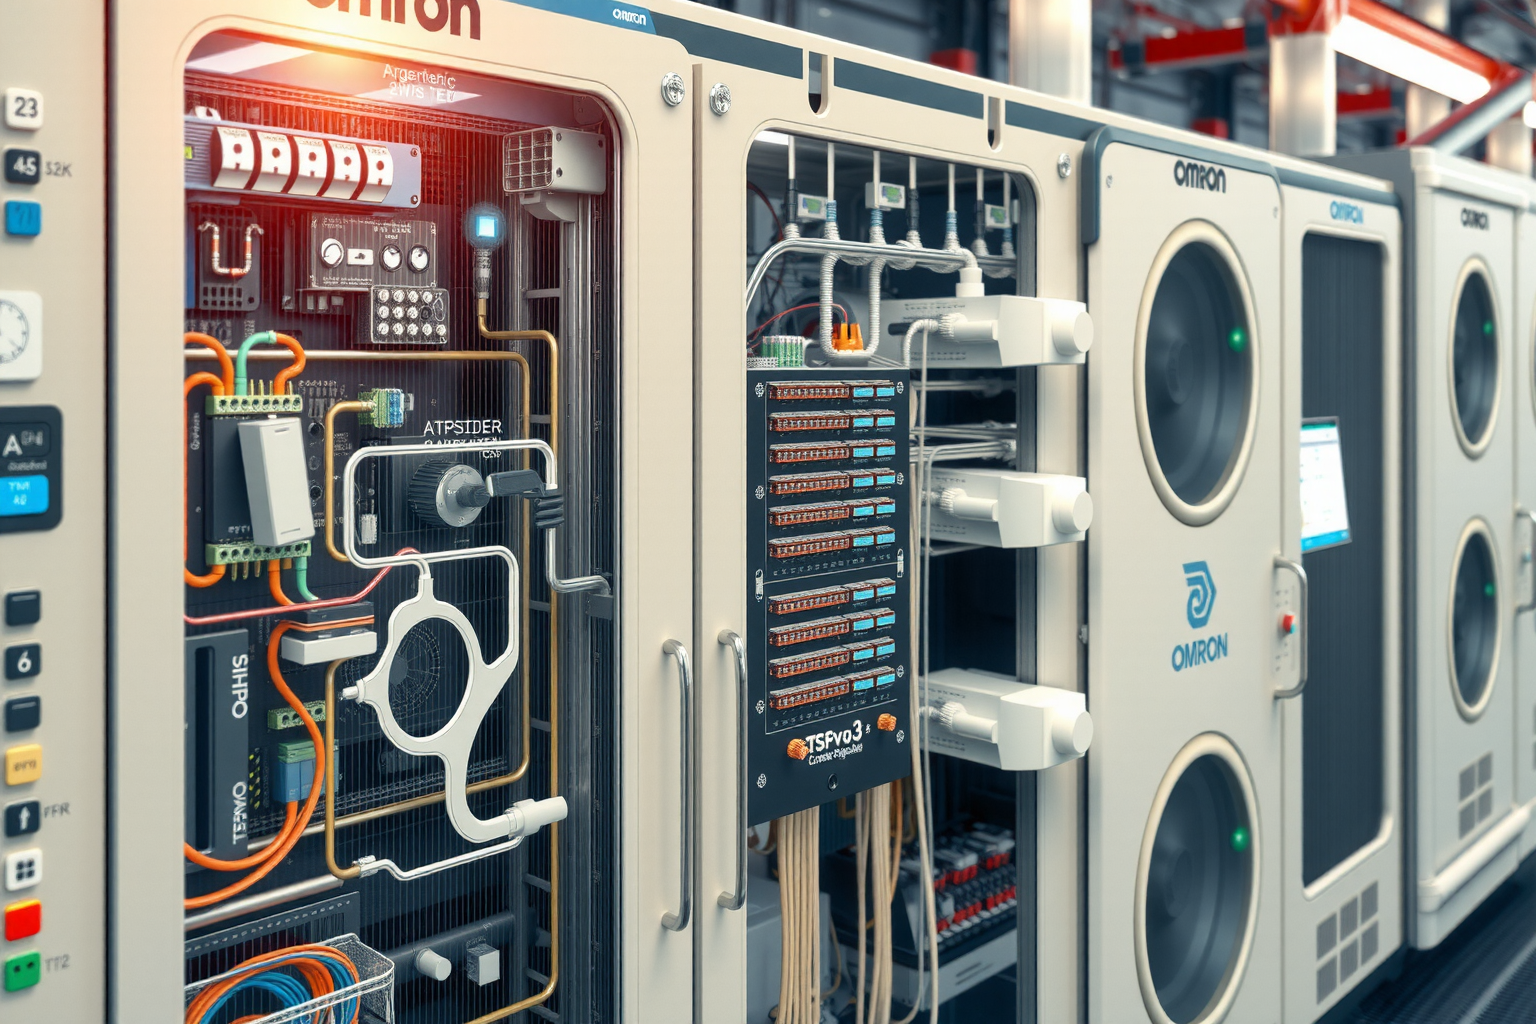
When you receive your Omron PLC, make sure to open the package carefully and inspect all the components. Begin by checking for the Omron PLC unit, which typically includes the main control unit, I/O modules, a power supply unit, and any additional communication or specialty modules. In addition to the hardware, you may find documentation such as the product manual, hardware installation guide, and a getting started guide. It’s important to have all the necessary parts before moving on to the next steps of the setup process.
Take a moment to familiarize yourself with the individual components and their specific functions. For instance, the main control unit is the central part of the PLC, responsible for processing the control program and executing tasks. The I/O modules connect the PLC to various input and output devices, enabling it to interact with the surrounding environment. Understanding the purpose and interconnection of these components is crucial for the successful assembly and operation of the PLC.
After confirming that all the components are present and undamaged, it’s recommended to organize the workspace and gather the tools required for the assembly process. This may include tools for mounting the PLC, as well as any necessary wiring and connector accessories. By ensuring that you have everything you need at hand, you can set the stage for a smooth and efficient assembly process, minimizing the risk of errors or omissions along the way.
To ensure the protection of the PLC and prevent any potential damage, it’s advisable to handle the components in a static-free environment. Consider using anti-static wrist straps and mats to ground any static electricity and avoid the risk of static discharge affecting sensitive parts of the PLC. Proper handling and environmental precautions at this stage can contribute to the long-term reliability and performance of the PLC in your industrial automation system.
Once you have unpacked and reviewed all the components, you can begin the assembly process, setting the stage for the PLC to play its crucial role in your industrial automation setup.
Step 2: Reading the Getting Started Guide
Before diving into the technical details of the Omron PLC, it’s essential to thoroughly read the getting started guide provided with your device. This comprehensive document serves as an introduction to the PLC, offering valuable insights into its features, specifications, and initial setup instructions. By investing time in understanding the content of the getting started guide, you lay a solid foundation for the successful installation and configuration of the PLC within your automation system.
Within the guide, you will often find important safety information, best practices for handling the PLC, and details about the recommended operating environment. Pay close attention to the safety guidelines, as they are crucial for the secure and efficient operation of the PLC in an industrial setting. Understanding the specific handling and environmental requirements outlined in the guide can help prevent accidents and ensure the longevity of the PLC.
Furthermore, the getting started guide typically provides step-by-step instructions for the initial setup of the PLC, including tasks such as mounting, wiring connections, and power-up procedures. Following these instructions meticulously is paramount in guaranteeing that the PLC is correctly and safely integrated into your automation system. Any deviations from the recommended setup process may lead to complications or suboptimal performance, underscoring the significance of adhering to the guidance in the getting started guide.
In addition to the technical aspects, the getting started guide may also introduce you to helpful software tools and resources for programming, monitoring, and troubleshooting the PLC. Familiarizing yourself with these supplementary materials early on can enhance your proficiency in working with the PLC and empower you to leverage its full potential within your industrial automation environment.
By diligently reviewing and internalizing the information presented in the getting started guide, you equip yourself with the knowledge and understanding necessary for a successful and seamless integration of the Omron PLC into your specific industrial automation application.
Step 3: Assemble the PLC with Your Automation System
As you prepare to assemble the Omron PLC with your automation system, it is crucial to have a clear and concise plan for the integration process. Consider the specific requirements and characteristics of your automation system, including the types of input and output devices, communication protocols, and the overall operational objectives. This thoughtful consideration will guide you in selecting the appropriate PLC model, expansion modules, and any supplementary components necessary for a seamless and optimized integration.
Begin by carefully mounting the PLC in the designated location within your automation infrastructure. Ensure that it is securely and adequately connected to power and communication networks, following the guidelines provided in the PLC’s documentation. Pay close attention to the routing and arrangement of wires and cables to maintain a visually organized and efficient setup, conducive to long-term operation and maintenance.
Next, establish the required electrical and data connections between the PLC and the various input and output devices present in your automation system. This may involve interfacing the PLC with sensors, actuators, motors, or other control elements, as well as connecting it to network communication interfaces for interdevice connectivity. Utilize appropriate wiring techniques and connectivity standards to guarantee the reliability and safety of the established connections, fostering a robust and error-free communication environment.
In the case of utilizing expansion modules with your Omron PLC, specifically the PLC process units for enhanced control and flexibility, ensure that they are seamlessly integrated into the main control unit and adequately powered and interconnected. This expansion capability allows for tailored and scalable automation solutions to be implemented, further meeting the dynamic and evolving control requirements of your industrial processes.
Throughout the assembly process, it is advisable to maintain a keen focus on the documentation and resources provided by Omron, as they offer invaluable guidance for achieving a meticulous and effective integration of the PLC within your automation system. By following the recommended assembly and connectivity procedures, you establish a solid and reliable foundation for the PLC to fulfill its pivotal role in the overall control and operation of your industrial automation processes.
Step 4: Powering On the PLC
Once the assembly of the PLC with your automation system is complete, the next crucial step is to initiate the power supply to the PLC, marking the commencement of its operational readiness. Prior to powering on the PLC, conduct a thorough review of all the connections and components to ensure that everything is properly and securely installed. Verify the integrity of the power supply connections and the absence of any potential issues or irregularities that could compromise the PLC’s operational stability or safety.
As you prepare to power on the PLC, it is imperative to do so in a systematic and methodical manner. Begin by connecting the PLC to the appropriate power source, adhering to the recommended voltage and current specifications detailed in the PLC’s documentation. Take a moment to confirm the consistent and reliable flow of power to the PLC, ensuring that the power supply unit is functioning optimally to meet the PLC’s operational demands.
Upon initiating the power supply, closely observe the startup indicators and operational parameters of the PLC to ascertain its proper and normal startup sequence. Some PLCs are designed with specific power-up self-diagnostic procedures to validate the integrity of internal components and systems. Familiarize yourself with these indicators and directly monitor the PLC’s behavior during the power-up phase to ensure the absence of any irregularities or malfunctions that could impede the PLC’s readiness for operation.
Once the PLC has successfully completed its power-up sequence and entered its operational state, it is advisable to conduct a preliminary functionality check to verify the responsiveness and performance of the PLC in the context of your automation system. This may involve testing and validating communication between the PLC and connected devices, as well as assessing its processing capabilities and control logic operations.
By adhering to a systematic and vigilant approach to powering on the PLC and monitoring its initial operation, you lay the groundwork for a reliable and uninterrupted integration of the PLC into your industrial automation environment, setting the stage for optimal control and operational efficiency.
Step 5: Drafting Your First Project
With the successful integration of the Omron PLC into your automation system and the initiation of its operational readiness, you are now prepared to embark on the pivotal task of drafting your first control project. This initial undertaking serves as a practical application to not only familiarize yourself with the PLC’s programming and control capabilities but also to establish a fundamental project structure for your future automation endeavors.
Begin by outlining the specific control objectives and sequences that your first project will govern within the context of your industrial automation setup. Clearly define the operational requirements, input and output parameters, and the overall behavioral expectations of the system under the control of the PLC. This comprehensive pre-project planning is instrumental in establishing a coherent and purposeful foundation for the development and testing of the control program within the PLC.
Utilizing the designated PLC programming software, such as the CX-Programmer, initiate the process of creating and developing the control program for your first project. Familiarize yourself with the programming environment and interface, leveraging the software’s features to construct a structured and efficient ladder logic program that embodies the control logic of your specific application. As you progress in the program development, refer to the valuable resources and programming guidelines provided by Omron to ensure best practices and optimal program design.
Throughout the program development phase, maintain a consistent focus on the clarity, organization, and efficiency of the control program, as these attributes are pivotal in guaranteeing the seamless execution and maintainability of the program within the PLC. Embrace the iterative nature of the program development process, regularly testing and debugging the program to address any encountered issues and to continually enhance its overall functionality and performance.
Upon finalizing the control program, compile and transfer the project to the PLC, ensuring the absence of any errors or discrepancies that could impact the project’s operational integrity. Subsequently, subject the PLC to a comprehensive testing phase, meticulously verifying the correct execution of the control logic, the responsiveness of the connected devices, and the overall conformance to the predefined operational parameters of the system.
As you navigate through the process of drafting and testing your first control project, you not only establish a concrete foundation for your proficiency in Omron PLC programming and control but also lay the groundwork for the successful implementation of future, more intricate, and tailored automation projects within your industrial environment.
Step 6: Testing the Project
Following the comprehensive development and programming of your first control project within the Omron PLC, the pivotal phase of thorough project testing ensues. This critical step is essential in validating the functionality, reliability, and overall performance of the control project, ensuring that it operates cohesively and effectively within the context of your industrial automation environment.
Initiate the project testing phase by establishing a controlled and safe environment for the execution of the project, taking into account any specific safety measures and operational protocols necessary for the testing process. Prioritize the thoroughness and methodical execution of the testing procedures, systematically evaluating each aspect of the control project to confirm its compliance with the defined operational requirements and performance standards.
Monitor and analyze the behavior of the PLC and the connected devices as the control project is executed, carefully documenting and addressing any observed irregularities, delays, or deviations from the expected operational parameters. This comprehensive assessment allows for the identification and rectification of potential areas for improvement or optimization within the control project, fortifying its overall effectiveness and seamless integration into the broader automation system.
Furthermore, subject the control project to various operational scenarios and edge cases, rigorously testing its adaptability, resilience, and response to atypical conditions that may be encountered in its actual operational environment. This robust and varied testing approach is fundamental in instilling confidence in the control project and its capacity to operate reliably and consistently within the dynamic and potentially challenging parameters of industrial automation.
Upon the successful and satisfactory completion of the project testing phase, you are poised to advance to the next critical step of transitioning the control project for final deployment within your industrial automation framework, signifying a notable milestone in the overarching automation development process.
Step 7: Final Deployment
Having diligently navigated through the comprehensive development, testing, and refinement of your first control project within the Omron PLC, you now arrive at the pivotal stage of its final deployment within your industrial automation system. This consequential step marks the culmination of the project’s development cycle and its seamless integration into the operational landscape, poised to deliver its intended control and automation functionalities.
Begin the final deployment process by ensuring a meticulous and systematic transfer of the control project to the designated Omron PLC, adhering to the recommended procedures and safeguards outlined in the PLC’s documentation and the associated development resources. Confirm the integrity and accuracy of the transferred project, ensuring that all program elements, configuration settings, and communication parameters are precisely as intended to guarantee the consistent and reliable operation of the control project within the PLC.
Subsequently, initiate the operational execution of the control project, closely monitoring its performance and responsiveness within the actual industrial automation environment. This initial real-world deployment phase serves as a critical opportunity to validate the control project’s behavior, making use of the insights gained during the previous testing phase to ensure its seamless and effective interaction with the connected devices and overall automation system.
Throughout the deployment phase, maintain a vigilant and proactive stance in monitoring the control project’s performance and the operational dynamics of the PLC, addressing any discrepancies or optimization opportunities that may arise to further enhance the project’s overall effectiveness and stability. This ongoing monitoring and fine-tuning are integral to solidifying the control project’s position as a dependable and efficient element within your industrial automation framework.
By successfully completing the final deployment of your first control project, you not only realize the practical implementation of the control solution but also establish a benchmark for the forthcoming automation projects, reflecting the iterative growth and continuous advancement inherent in the domain of industrial automation and control.
Conclusion
In conclusion, Omron PLC systems are essential tools in industrial automation for efficient and reliable monitoring and control. When selecting a PLC, clearly define your needs and consult with Omron industrial distributors. The OMRON PLC-based Process Control system provides even more control and flexibility with expandable process units. Choose the right Omron PLC for optimal process optimization, featuring speed, precision, and ease of use. Enhance your learning with online courses or explore affordable options on eBay. Follow the simple step-by-step guide to get started with your Omron PLC and experience its benefits in your industrial automation processes.